
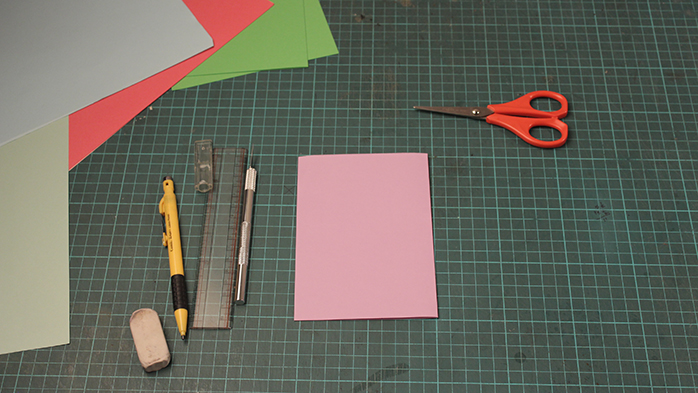
Step 1: Take any 2 same size colour tinted paper or cartridge paper, one for outer card and the other for the owl pop-up (with thickness of more than 135-gsm).
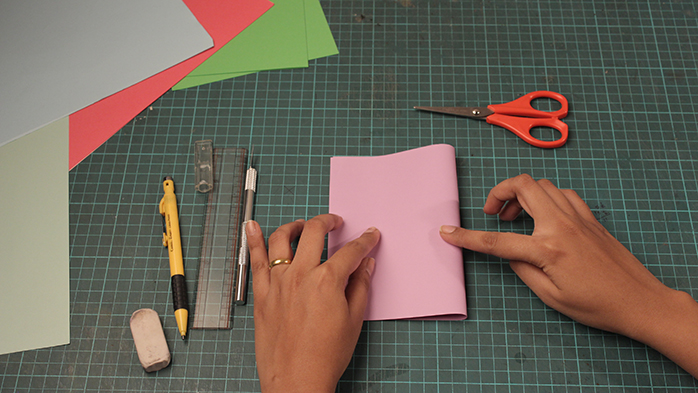
Step 2: Fold the paper (for outer card) in half and press it firmly with the use of a thumb or scale.

Step 3: Fold the paper (for the owl) in half and then draw the basic shape of a half-side owl pop-up.

Step 4: Carefully cut out your owl pop-up pieces.

Step 5: You should have 4 pieces in all including the owl-shaped card.

Step 6: Understand the fold carefully. Fold your main owl pop-up piece in half. Using a ruler as a guide crease it and then fold the owl popup pieces carefully.
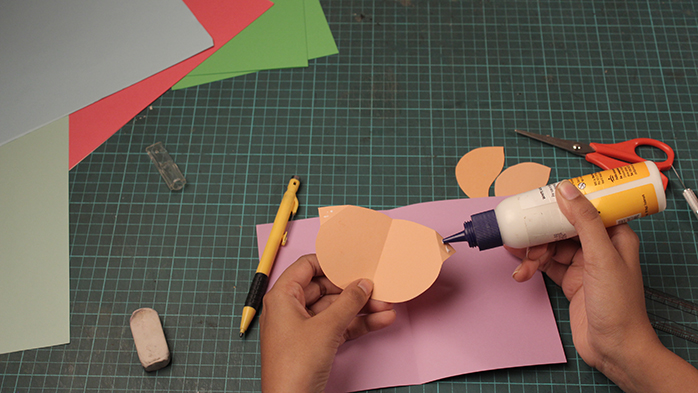
Step 7: Apply a small amount of glue (only on the tabs as shown).

Step 8: Make sure you align the piece of owl pop-up in the centre of the paper fold line while sticking.

Step 9: Make the headpiece of the owl and align it to the body of the owl pop-up. Make sure the middle line of the card matches the middle line of the headpiece. Press firmly and let the glue dry.

Step 10: Stick the owl wings carefully.

Step 11: Make sure all the pieces are completely dry before closing. Close your card completely and press down firmly.

Step 12: Decorate the owl pop-up with colours.